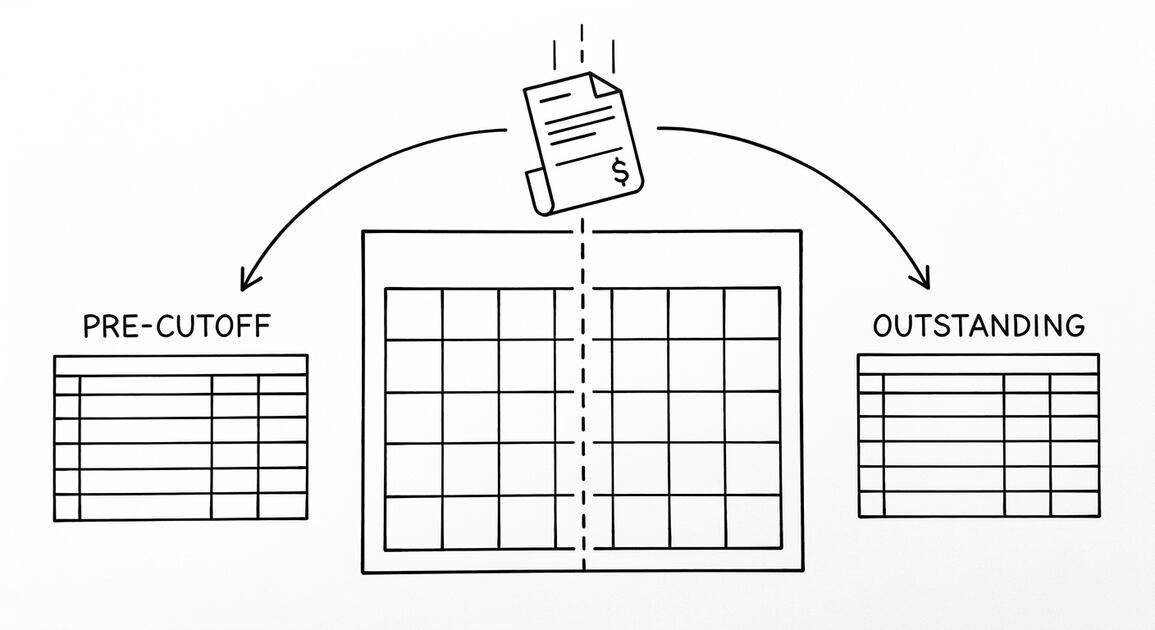

Converting a bank statement to Xero means turning a PDF or paper statement into a file Xero can read, then importing and reconciling it inside the accounting platform. Xero accepts several formats, but CSV is the one most people build by hand. The conversion work is mostly cleanup: getting the columns, signs, and dates into the shape Xero expects.
This guide covers the format rules, the import steps, and the errors that block an upload. It also points to related guides such as bank statement to Xero and how to verify a converted bank statement before import.
What Xero Needs From A Bank Statement
Xero needs one row per transaction with a date and an amount. According to Xero Central, only the Date and Amount fields are mandatory to create bank statement lines, though including more detail makes reconciliation easier.
That minimum is useful when a statement is messy or only partly legible. Still, a row with only a date and an amount leaves the bookkeeper guessing what the transaction was. Adding a description or payee column saves time later, even though Xero does not require it.
Access matters too. Per Xero Central, you need the administrator or standard plus bank accounts user role to import a bank statement into Xero. If the import menu is missing, check the role before chasing a file problem.
Who Can Import
Only users with the right role can import. If you are the business owner on your own file, you already have it. If a staff member or external bookkeeper is doing the import, confirm the role first.
The CSV Format Xero Expects
Xero’s CSV rules are strict but simple. Per Xero Central, income and expense amounts must be in the same column, with income as positive amounts and expenses as negative amounts using a negative sign or brackets, for example -30.00 or (30.00). Commas must not be used for decimal places.
That single-column rule surprises people who are used to separate debit and credit columns. If your exported file has two amount columns, combine them into one before import, applying the sign convention.
Per Xero Central, columns containing opening and closing balances, the bank account number, and empty rows must be deleted before import, because Xero calculates the bank balance from transactions. Leaving a balance column in place causes a mismatch during import.
Per Xero Central, a CSV bank statement file cannot be imported if it contains more than 100,000 rows, and empty rows must be deleted. For most small businesses this limit is never close, but a multi-year catch-up file could hit it.
Date Formats
Per Xero Central, supported date formats include DD/MM/YYYY, MM/DD/YYYY, YYYY/MM/DD, and several variants using two-digit years, slashes, spaces, hyphens, periods, or no separators. Pick one format and use it for every row. Mixing formats in one file is a common cause of failed imports.
From PDF to Excel in one click
Forget retyping line by line. Upload any bank statement, get a spreadsheet you can actually use. Your files are never stored, and you can test the converter with 3 free conversions.
Try it freeStep By Step Conversion Workflow
Start with the statement PDF or paper copy. Read each transaction line and copy the date, description, and amount into a spreadsheet. Keep income positive and expenses negative. Remove any opening or closing balance rows, the account number row, and blank rows.
Then check the running balance. Add a balance column for your own verification and confirm it matches the bank’s printed balance on the last row. Once it matches, delete the balance column so Xero can calculate its own. Save as CSV with a consistent date format.
For the full mechanics of reading a PDF statement, see convert bank statement to QuickBooks, which covers the same extraction steps even though the target format differs.
If you would rather skip manual typing, a converter such as Easy Statement Sheet turns a PDF statement into a clean CSV with the four columns Xero expects. The point is the output file, not the tool: any path that produces a clean CSV works.
Importing The CSV Into Xero
Open the bank account in Xero, choose import, and upload the CSV. Xero maps the columns to its fields. Confirm the date format and the amount column, then proceed. Per Xero US, CSV imports can be reviewed and amended from within Xero before completion, which is the safety net for catching a sign error.
Per Xero US, PDF bank statements can be uploaded directly into Xero from supported banks without third-party software, and transactions can also be imported in OFX, QIF, QBO, QFX, or CSV formats. If your bank is on the supported list, direct upload skips the conversion step entirely.
Direct upload is convenient but not universal. If your bank is not supported, or the statement is historical, the CSV route is the reliable fallback. For feed problems, see Xero bank feed troubleshooting and bank feed failure in QuickBooks and Xero.
Reviewing And Amending Before Completion
Do not click complete until you have scanned the preview. Check that income rows are positive and expense rows are negative. Check that dates read correctly and that no row is missing or duplicated. The review screen exists for exactly this reason.
If a row looks wrong, amend it in the review screen rather than re-exporting the whole file. Small fixes there are faster than rebuilding the CSV. For a large error, fix the source file and re-import.
Records And Reconciliation After Import
Once imported, the lines sit in the bank account awaiting reconciliation. Match each line to an invoice, bill, or transfer, or create a spend or receive money transaction. Reconciliation is where the real bookkeeping happens, and the imported statement is just the input.
Keep the original statement. Per IRS Publication 552, bank statements are basic records that prove income, alongside W-2s, 1099s, and brokerage statements. Per the same publication, a legible financial account statement prepared by a bank is accepted as proof of payment if it shows the amount, the payee’s name, and the date the bank posted the transaction.
That is why preserving the original PDF matters even after conversion. The converted file feeds Xero; the original proves the numbers if anyone asks later. See how to categorize bank statement transactions for what happens next.
Common Mistakes That Block Import
The most common block is a balance column left in the CSV. Xero rejects it because it calculates the balance itself. Delete opening and closing balance columns before import.
The second common block is decimal commas. Using 1,234.56 with a comma as the thousands separator is fine, but using a comma as the decimal separator is not. Use a period for decimals.
The third is mixed date formats. If some rows say 03/04/2026 and others say 2026-04-03, Xero may misread them. Standardize on one format.
The fourth is blank rows. They must be deleted before import, and a file over 100,000 rows will not import at all. Split large files if needed.
Sign Errors
Expenses entered as positive and income as negative flips every transaction. The review screen catches it, but fixing 200 rows by hand is painful. Set the sign convention while building the CSV, not after.
When To Use A Conversion Tool
Manual entry is fine for a short month. For a year of statements or a catch-up project, typing every row is slow and error-prone. A converter that reads the PDF and outputs a clean CSV removes the typing and keeps the running balance verified.
Whichever route you choose, the goal is the same: a CSV that meets Xero’s rules, verified against the bank’s printed balance, then imported and reconciled inside Xero. Convert your first three statements free to see whether the output matches what your bank printed.
Choosing Between CSV And Direct Bank Feed
Direct bank feeds pull transactions automatically, which removes manual work entirely. The catch is that feeds depend on your bank being supported and on the feed staying connected. A feed can break after a password change or a bank interface update, leaving gaps in the record.
CSV import is slower but deterministic. You control the file, the dates, and the amounts. For historical statements or unsupported banks, CSV is the only route. Many bookkeepers use feeds for the current month and CSV for backfill.
The two methods can coexist. Import historical months by CSV, then let the feed handle new transactions going forward. Just avoid overlapping date ranges, which would duplicate lines in Xero.
Avoiding Duplicates
Before importing a CSV, check which date range already exists in Xero. If a feed already loaded March, do not import March again by CSV. Filter the CSV to the missing months only.
Handling Multi Currency And Foreign Transactions
If your account is denominated in US dollars but holds foreign transactions, Xero handles the conversion at the account level. The CSV amount should be the amount as it appears on the statement, in the account’s currency, not a converted figure.
For a separate foreign currency account, set up that account in Xero first, then import into it. Mixing currencies in one account produces incorrect balances. When in doubt, match the CSV currency to the Xero account currency exactly.
How To Verify Before Import
Verification is the step most people skip and later regret. Open the CSV in a spreadsheet and confirm the row count, the first and last dates, and the sum of amounts. The sum should reconcile to the change in balance shown on the statement.
Check that no description contains a stray comma that would split a column, and that no row has an empty date. A single broken row can fail the whole import or, worse, import silently wrong.
For a deeper walkthrough, see how to verify a converted bank statement before import. The same checks apply whether you built the CSV by hand or with a converter.
Troubleshooting Common Import Errors
If Xero rejects the file, the error message usually names the cause. A date format error means at least one row uses a format Xero does not recognize. An amount error means a row has text, a comma decimal, or a missing value. Fix the offending row and re-import.
If the import succeeds but balances look wrong, the likely cause is a sign error or a leftover balance column. Delete the imported lines, fix the CSV, and import again. Xero lets you remove imported statement lines before reconciliation.
If a feed is the problem rather than a CSV, see Xero bank feed troubleshooting and bank feed failure in QuickBooks and Xero for connection-level fixes.
Keeping The Original Statement
Keep the original PDF or paper statement in your records. The converted file is a working copy for Xero. The original is what supports the numbers if a tax preparer, auditor, or lender asks for proof.
Per IRS Publication 552, bank statements are basic records that prove income, alongside W-2s, 1099s, and brokerage statements. A legible statement prepared by a bank is accepted as proof of payment if it shows the amount, the payee’s name, and the date the bank posted the transaction.
Store the original with a clear filename including the account and date range. That small habit saves hours when a question arrives months later.
Turn That PDF Into a Spreadsheet in Minutes
You've seen how to do it manually — now let the tool handle the heavy lifting. Upload your bank statement and get Excel, CSV, or QBO in a few clicks.
Try It Free